
Only a few pieces of equipment are needed to begin playing centergoal. These items are listed below and on the "Rules" page.
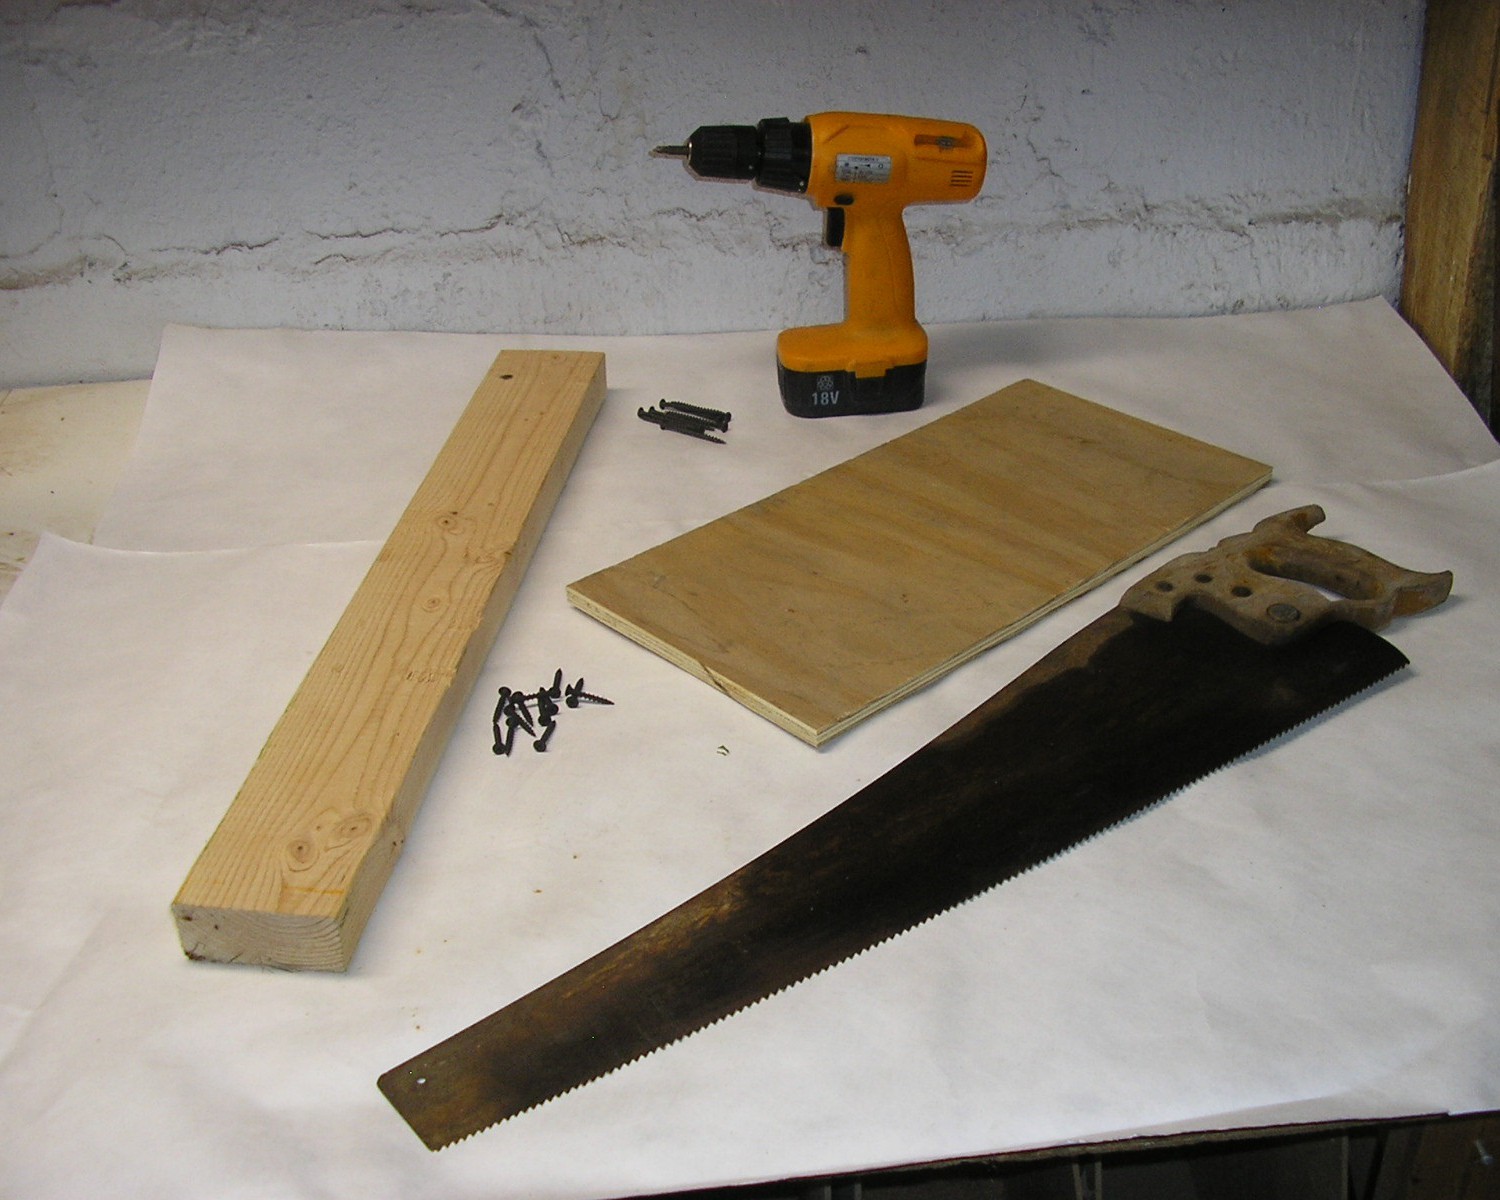
Note: If you choose to use power tools always wear safety glasses and keep your hands at least four inches away from any moving blades.
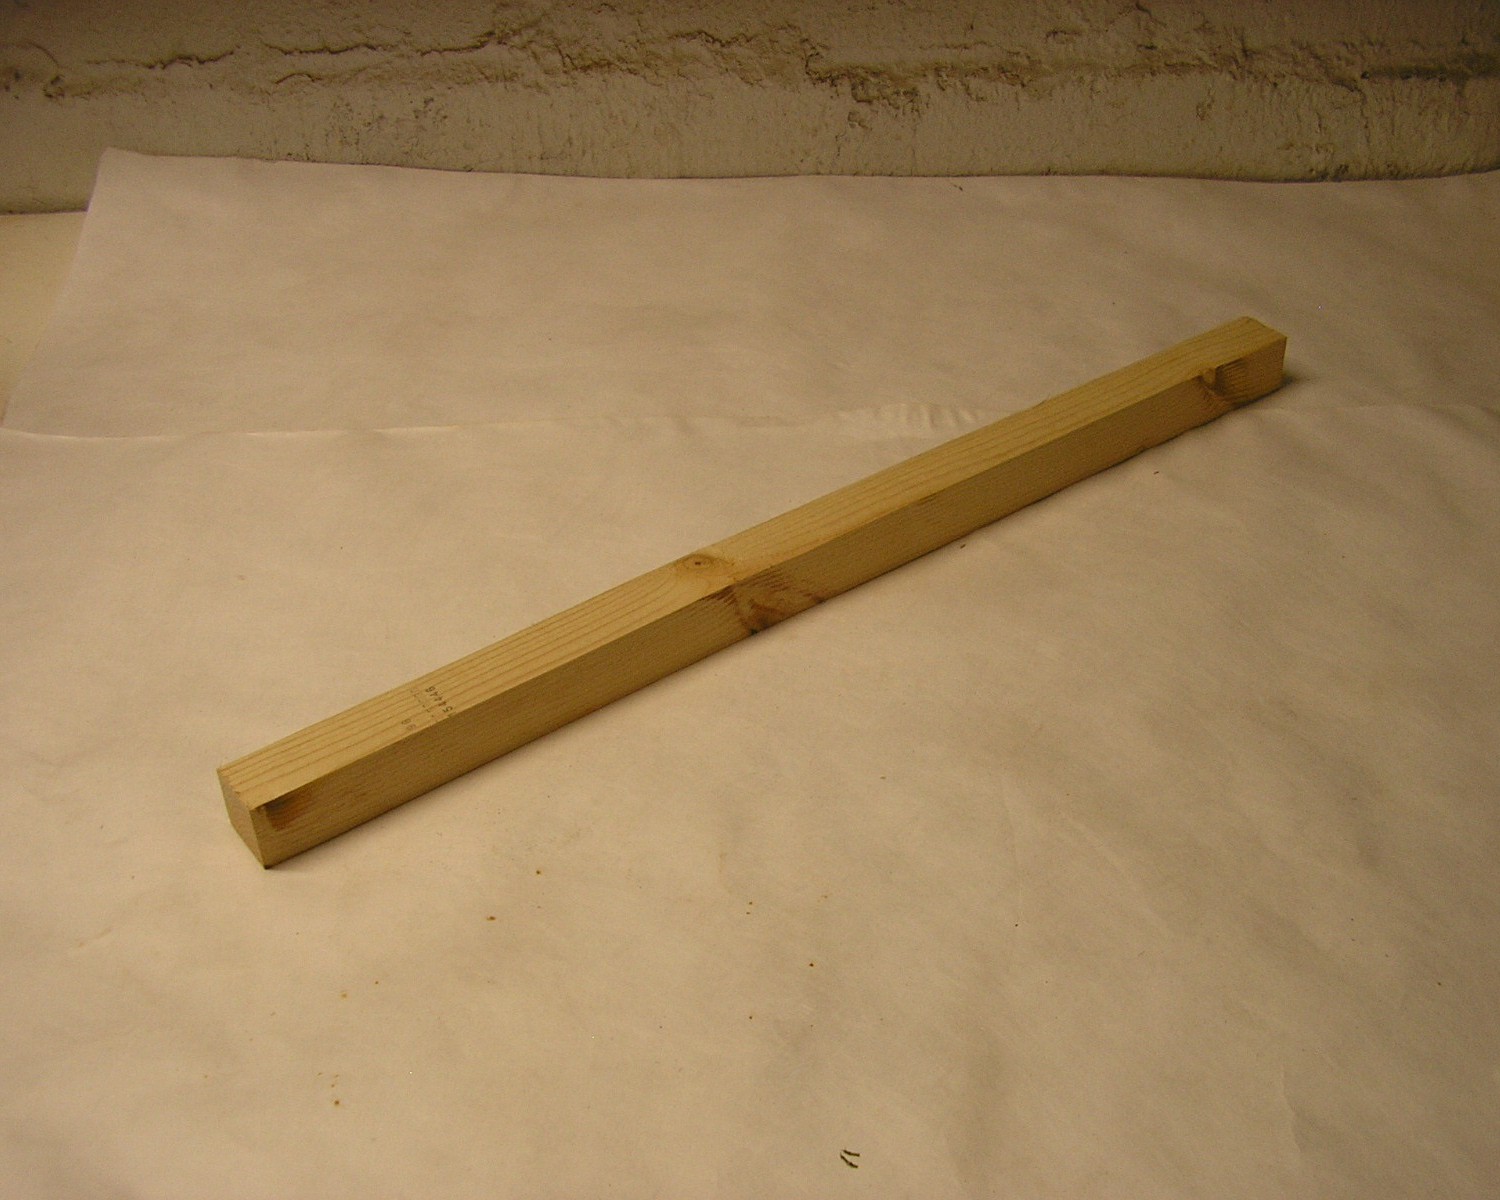 Make a cut along the length of the 2 by 4 to get a piece 1.5 inches wide, 1.5 inches thick, and at least 27 inches long.
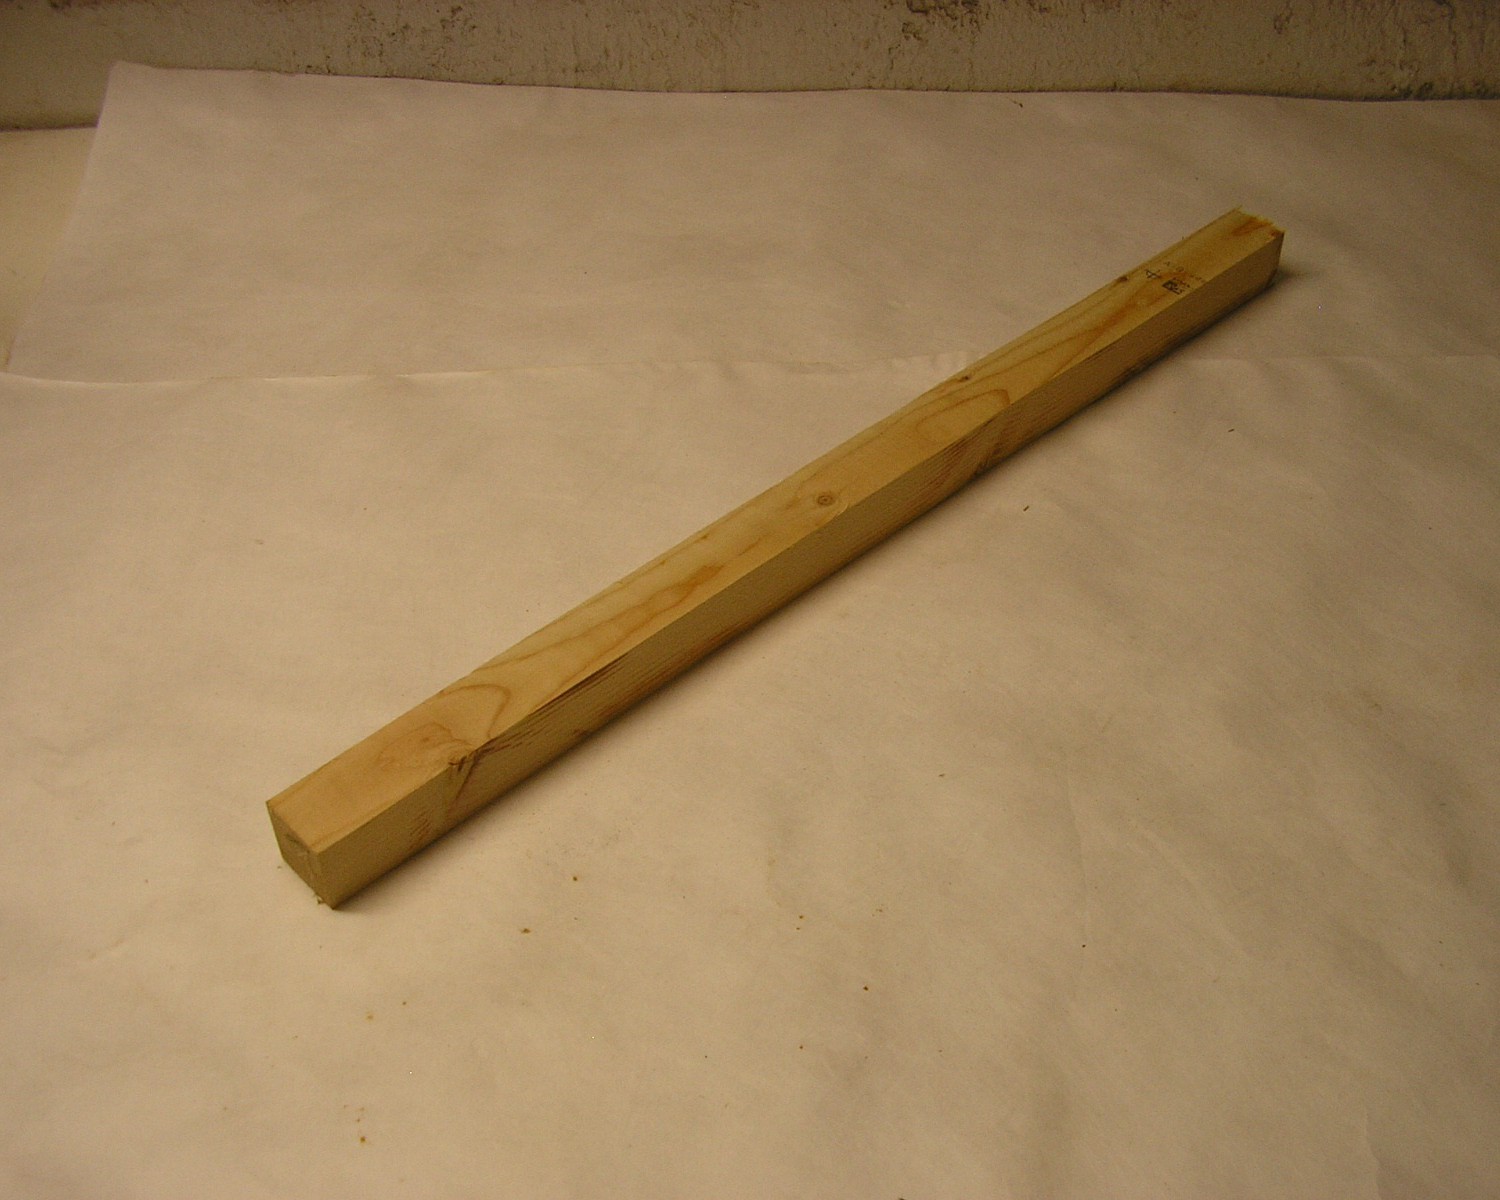 Make another cut along the length of the remaining piece of the 2 by 4 to get another piece 1.5 inches wide, 1.5 inches thick, and at least 27 inches long.
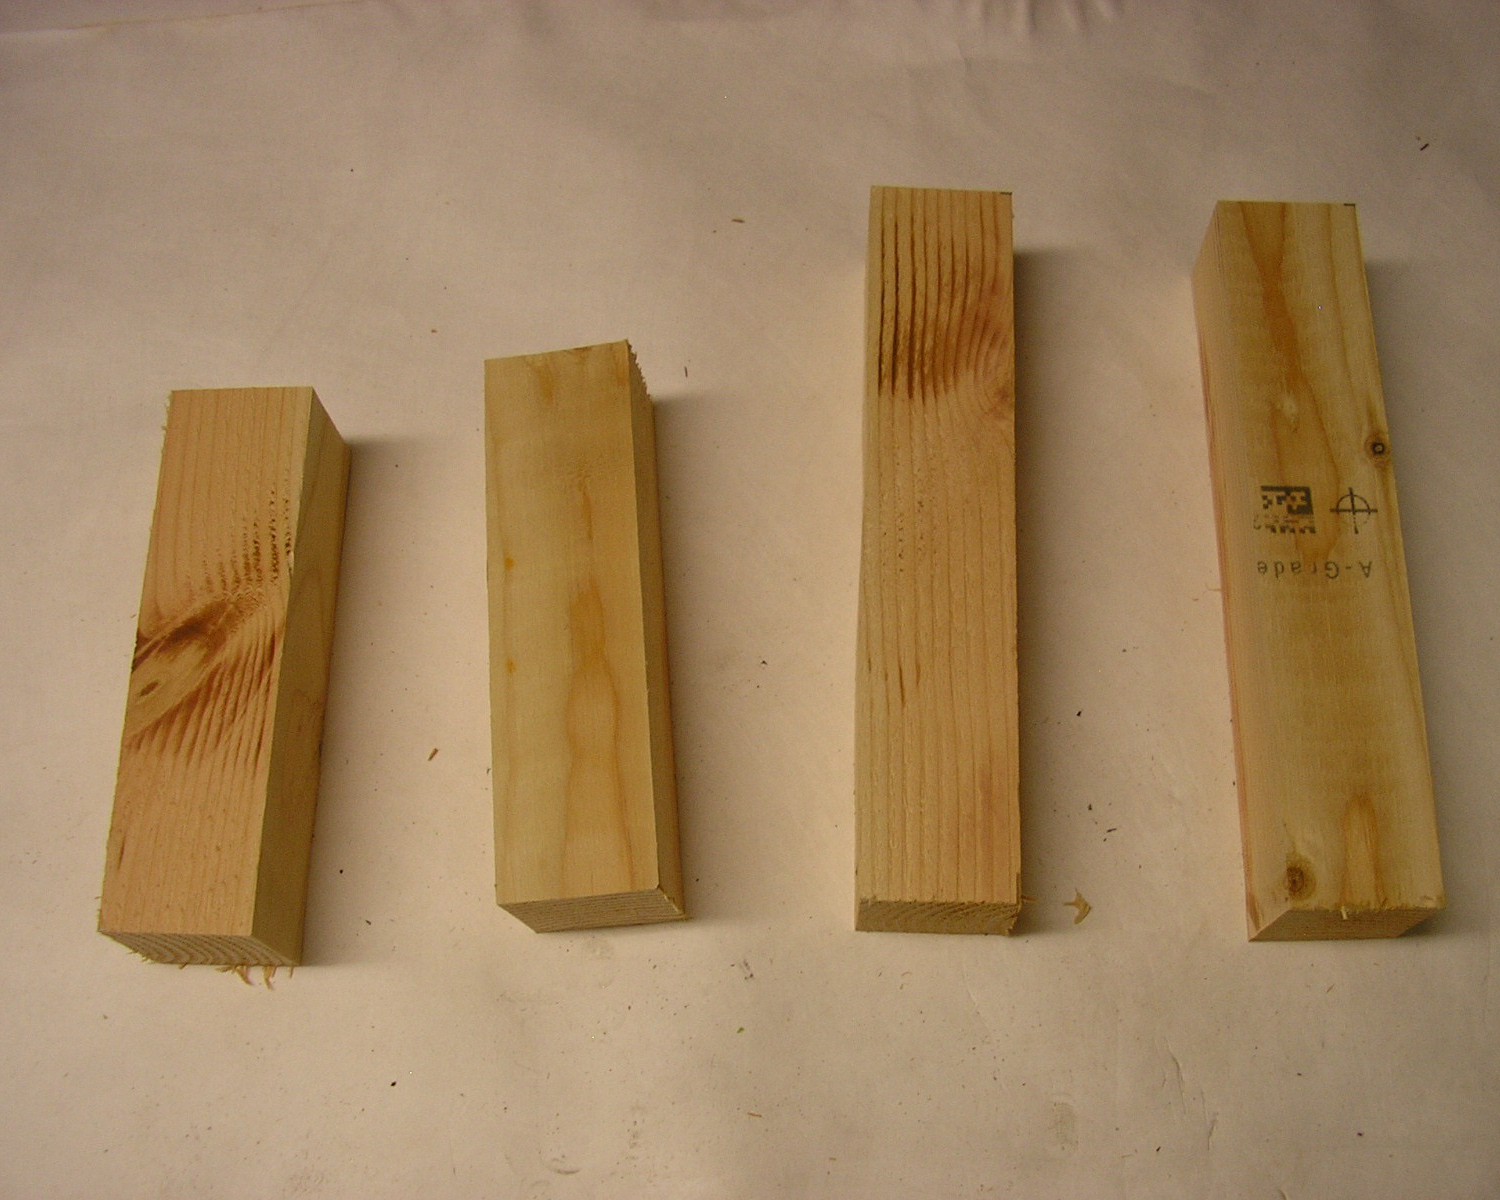
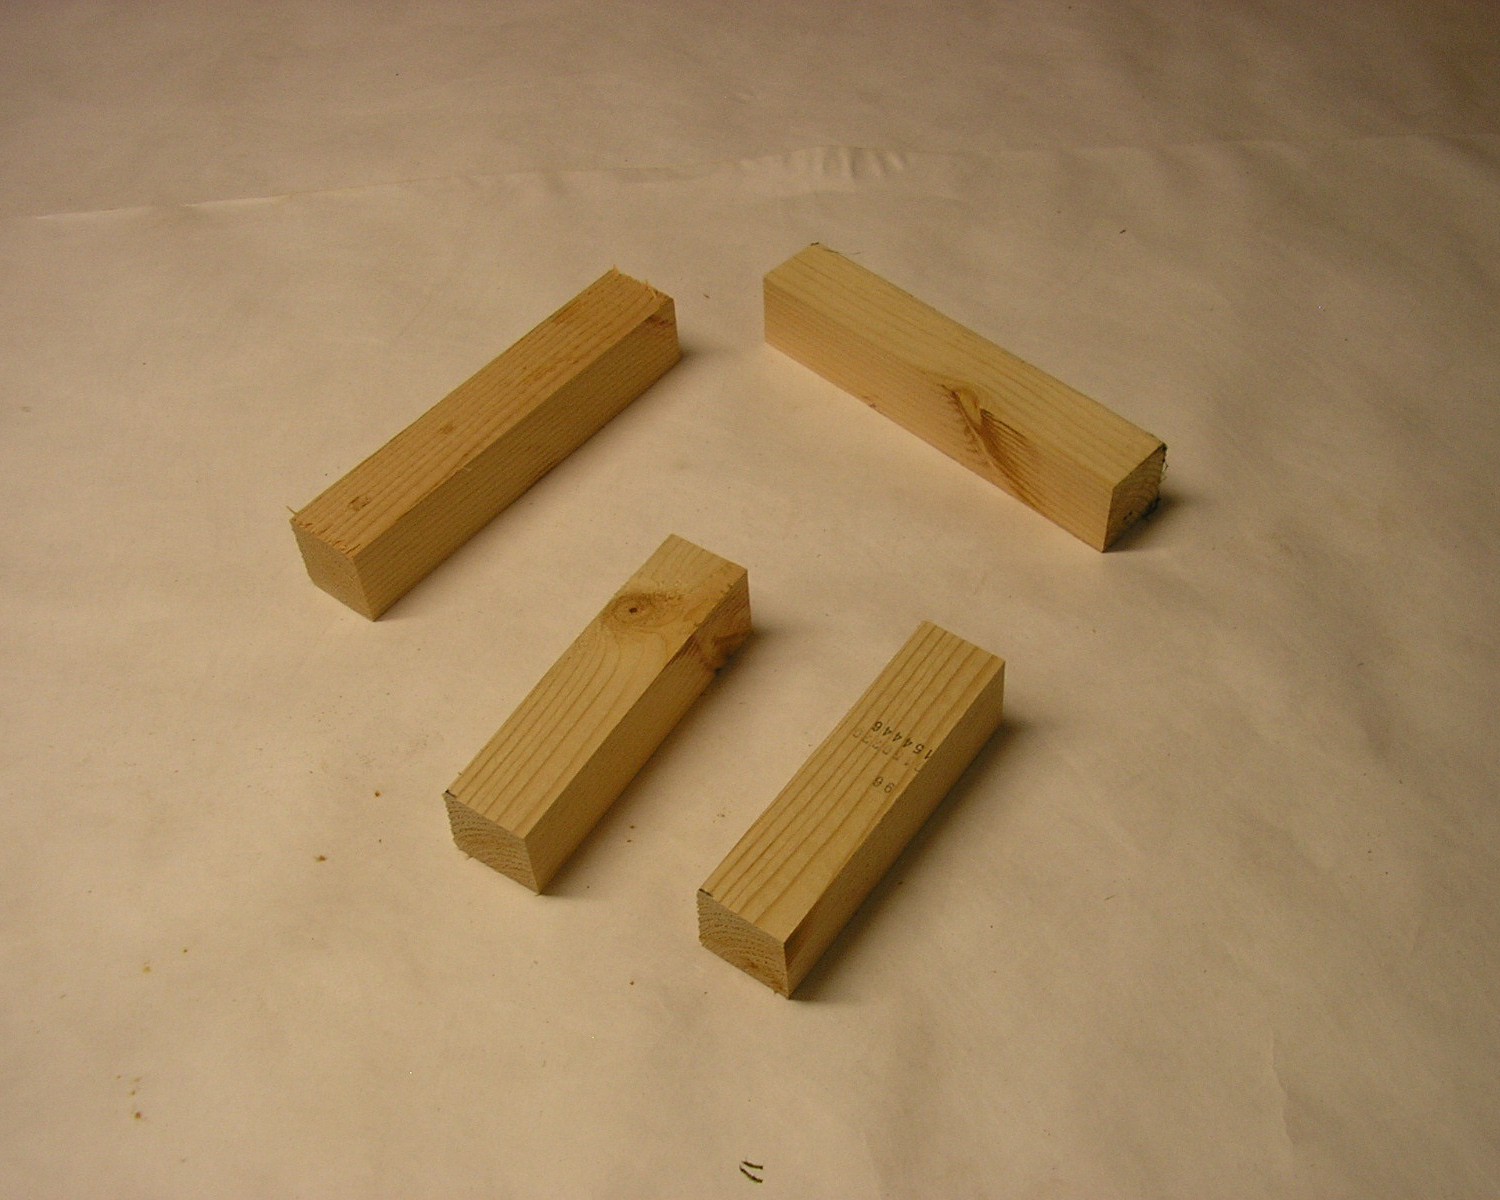 Cut the first 1.5 inch wide and 1.5 inch thick column into four shorter pieces; two pieces that are 7.625 (7 and 5/8) inches long and two pieces that are 5.625 (5 and 5/8) inches long.
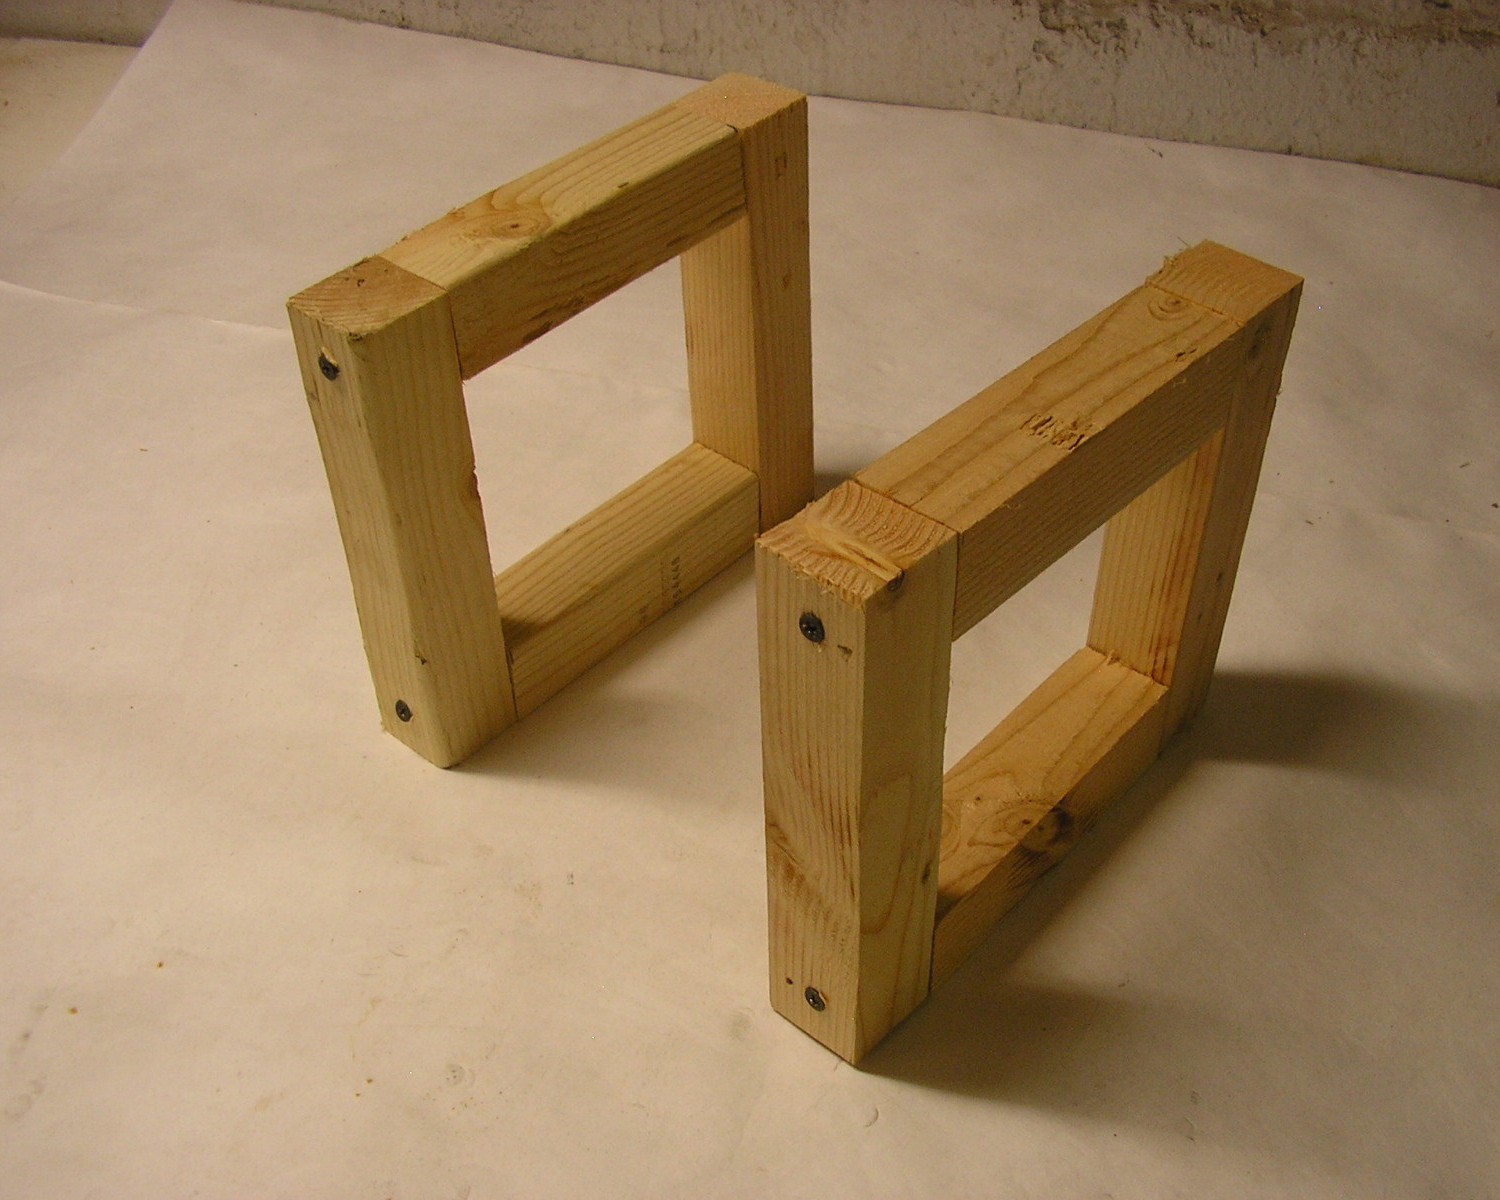
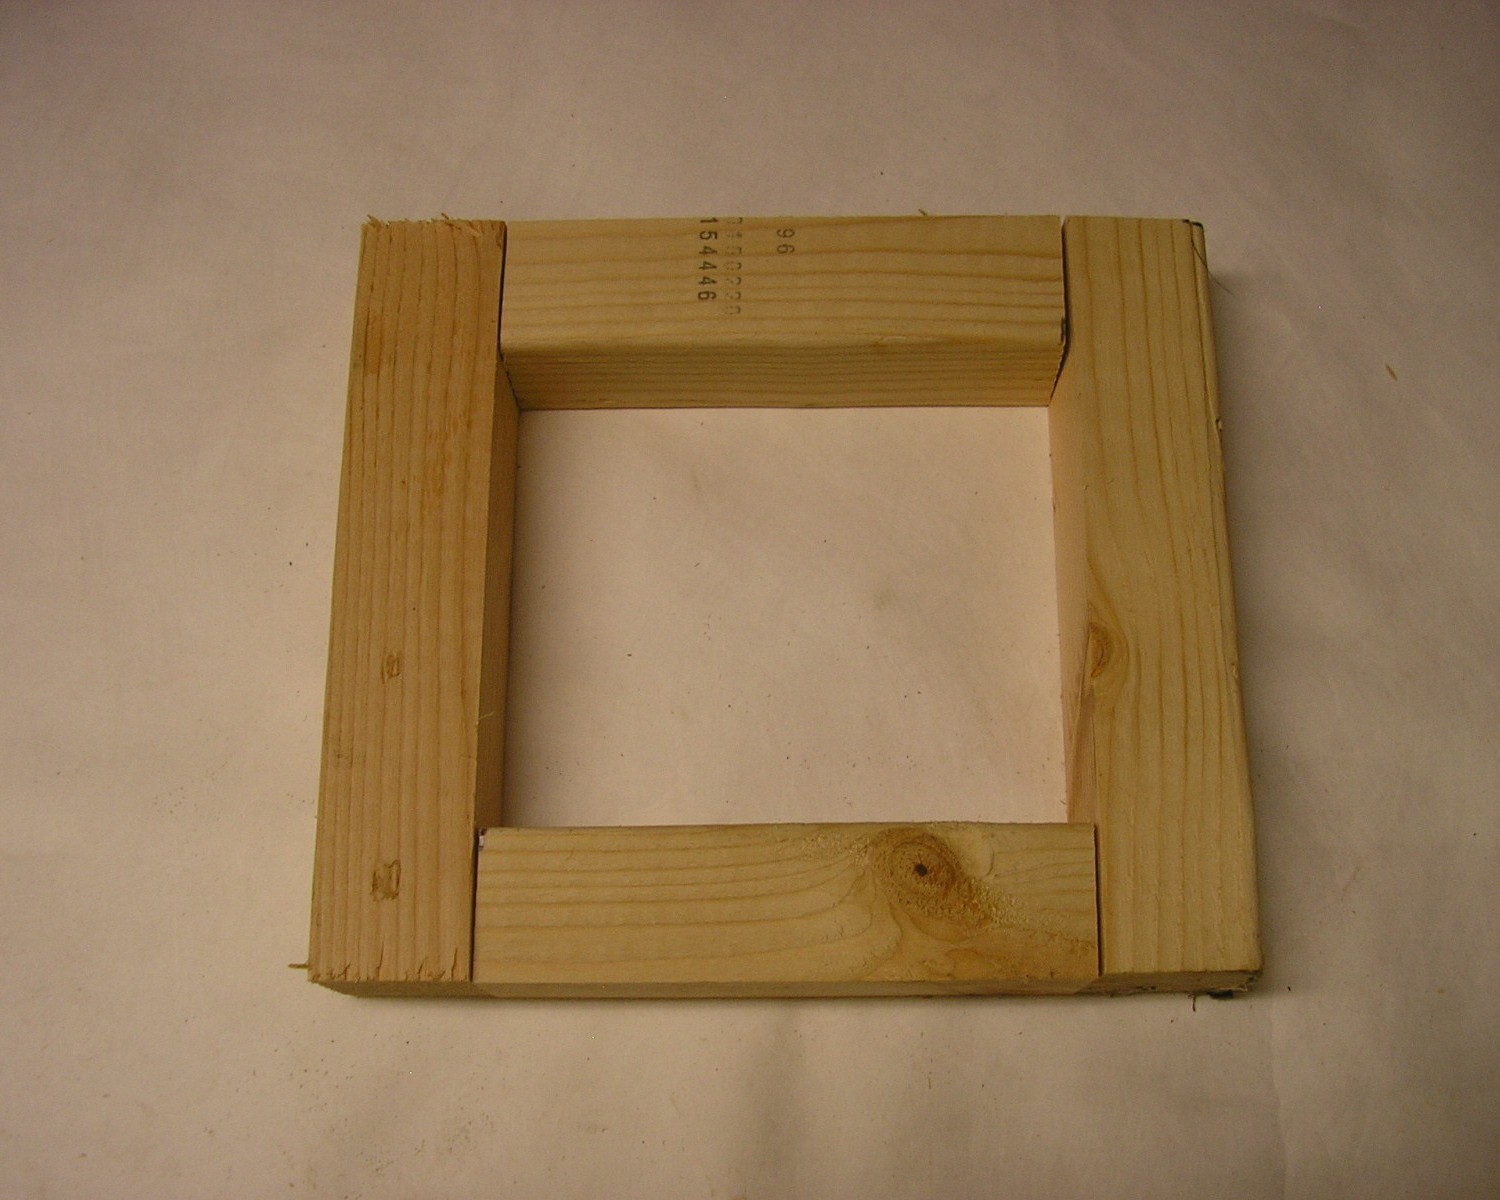 Place the two shorter 1.5 inch wide and 1.5 inch thick columns cut in the previous step between the longer columns to form a rectangle. Each end of each shorter column should butt up against the side of one of the longer columns. The sides or the shorter columns at the top and bottom of the rectangle should be flush with the ends of the longer columns.
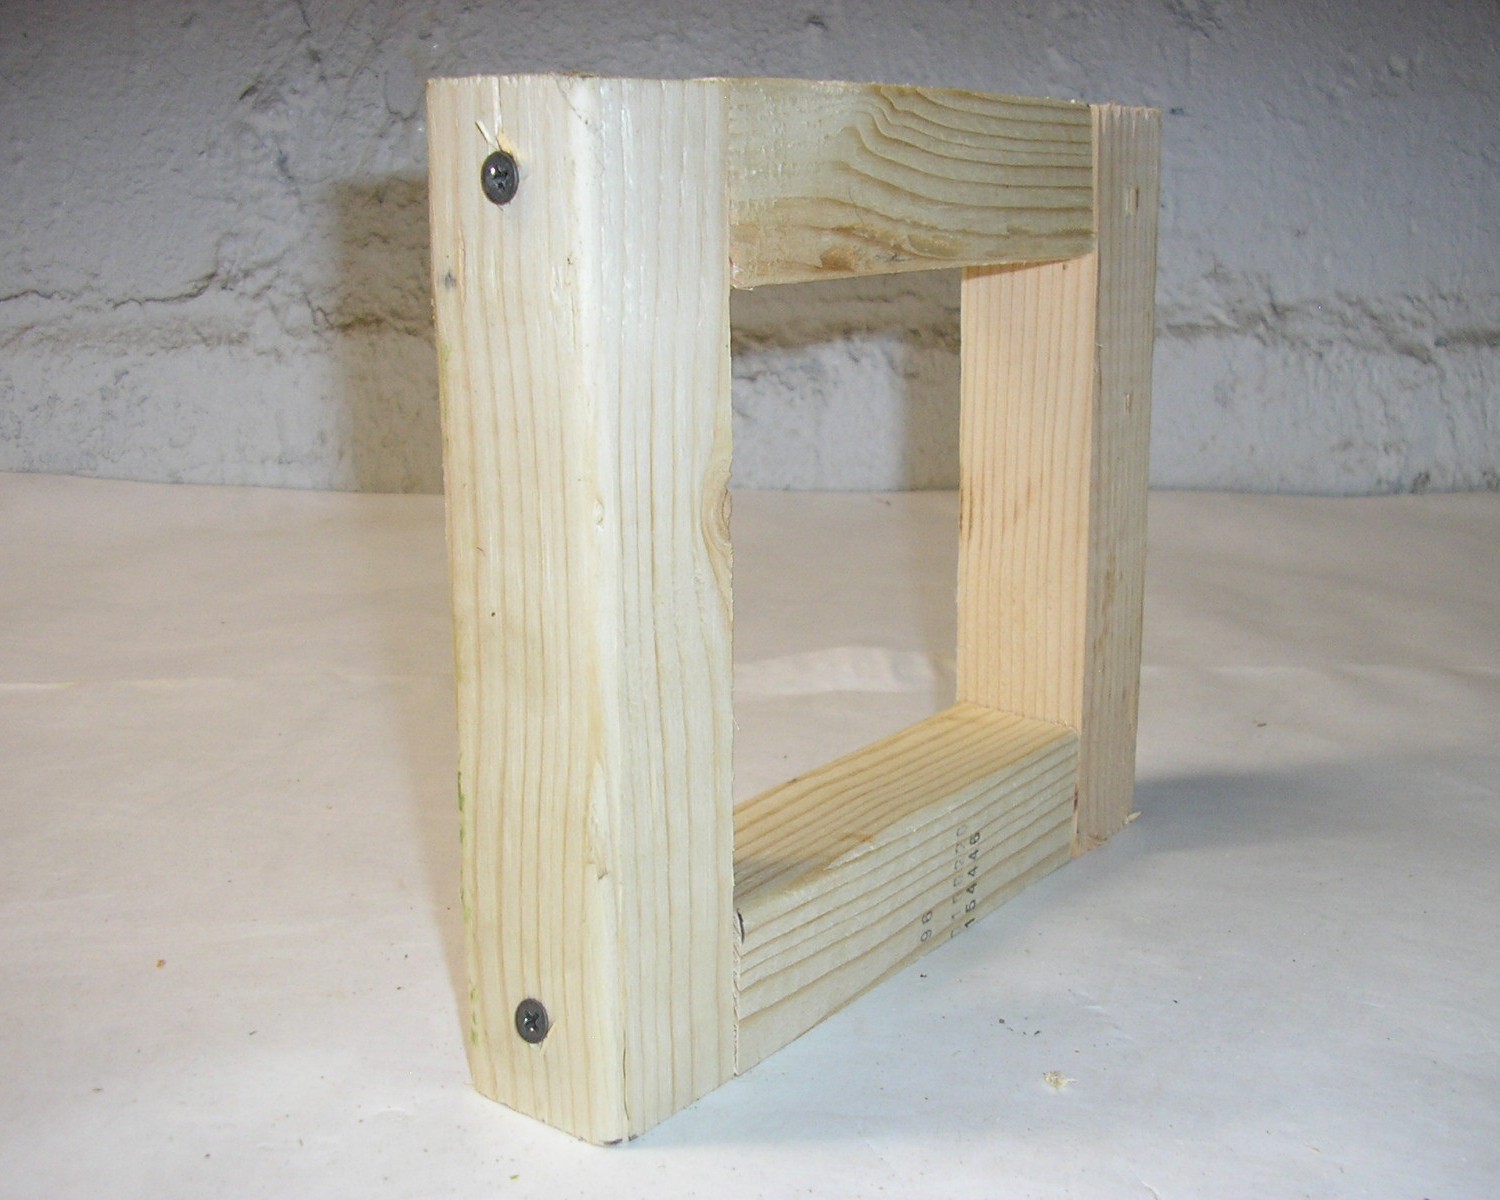 Using 4 of the 2.5 inch screws, screw through the side of each longer column and into the ends of the shorter columns. This will form one side of the goal.
 Cut the second 1.5 inch wide and 1.5 inch thick column into four shorter pieces; two pieces that are 7.625 (7 and 5/8) inches long and two pieces that are 5.625 (5 and 5/8) inches long.
 Place the two shorter 1.5 inch wide and 1.5 inch thick columns cut in the previous step between the longer columns to form a rectangle. Each end of each shorter column should butt up against the side of one of the longer columns. The sides or the shorter columns at the top and bottom of the rectangle should be flush with the ends of the longer columns.
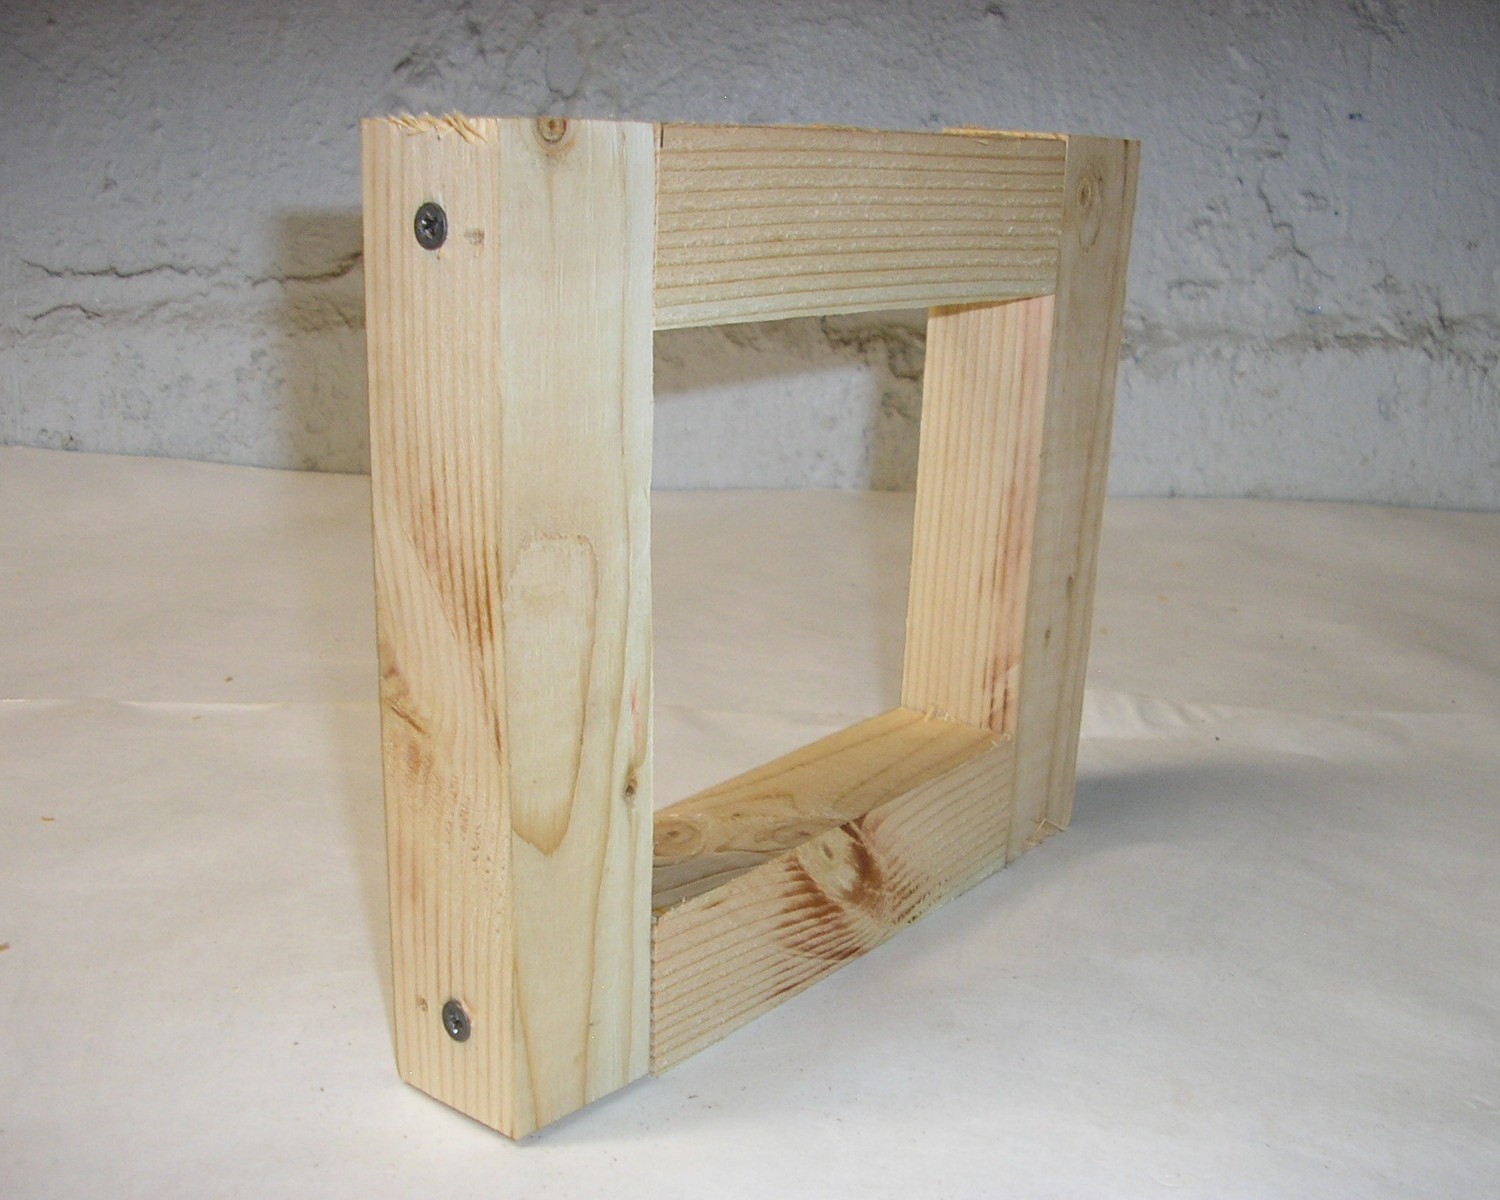 Using 4 of the 2.5 inch screws, screw through the side of each longer column and into the ends of the shorter columns. This will form the other side of the goal.
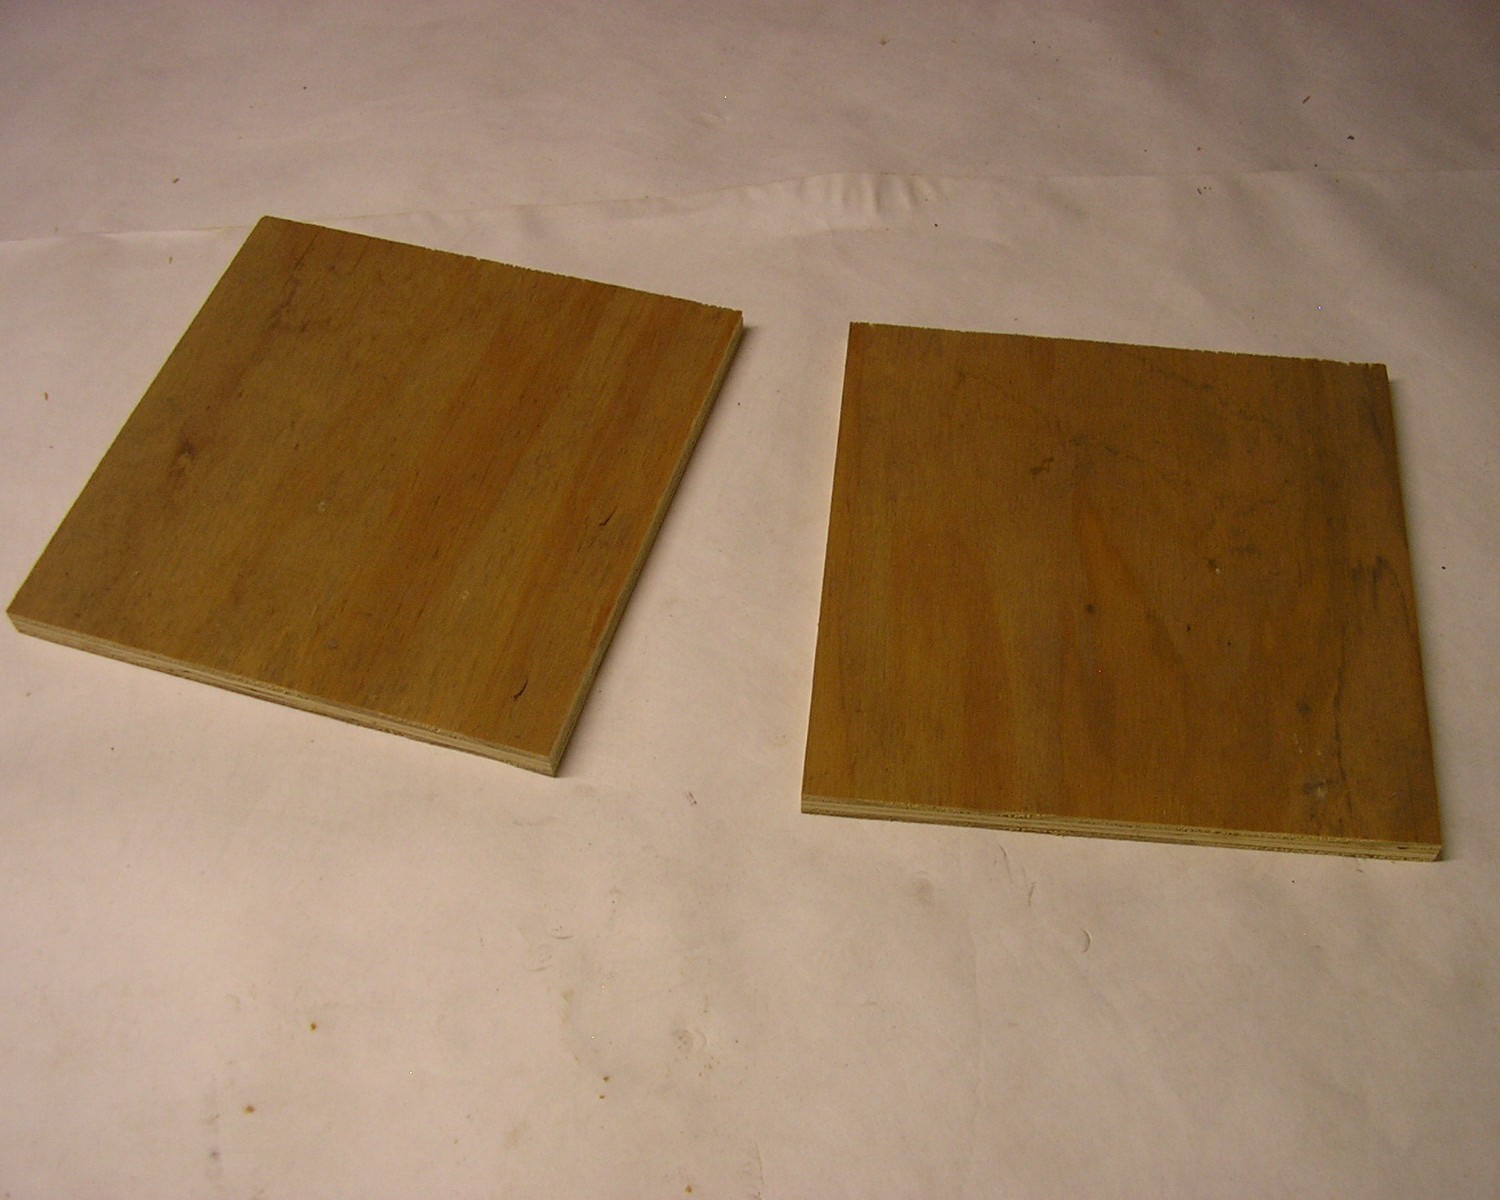 Cut two squares out of the plywood that are 8.625 (8 and 5/8) inches long and 8.625 (8 and 5/8) inches wide. These squares will form the top and bottom of the goal.
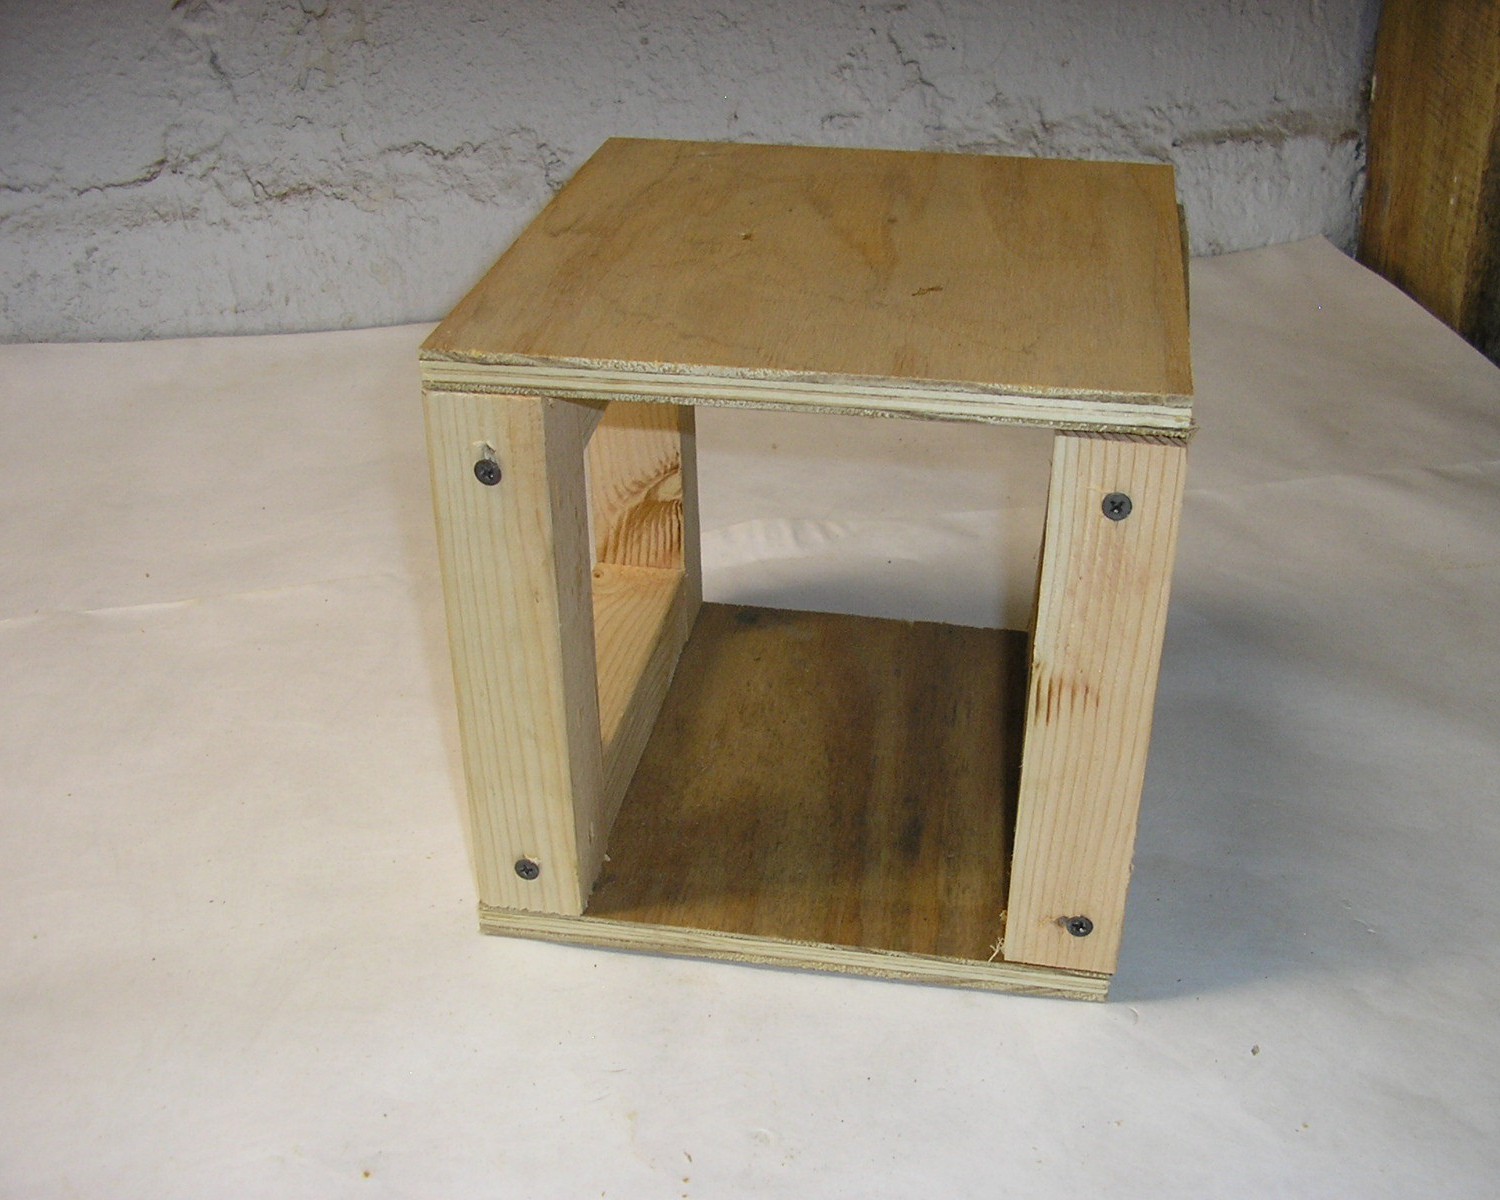
 Stand up the two sides of the goal with one of the shorter columns that make up each side at the top of each side.
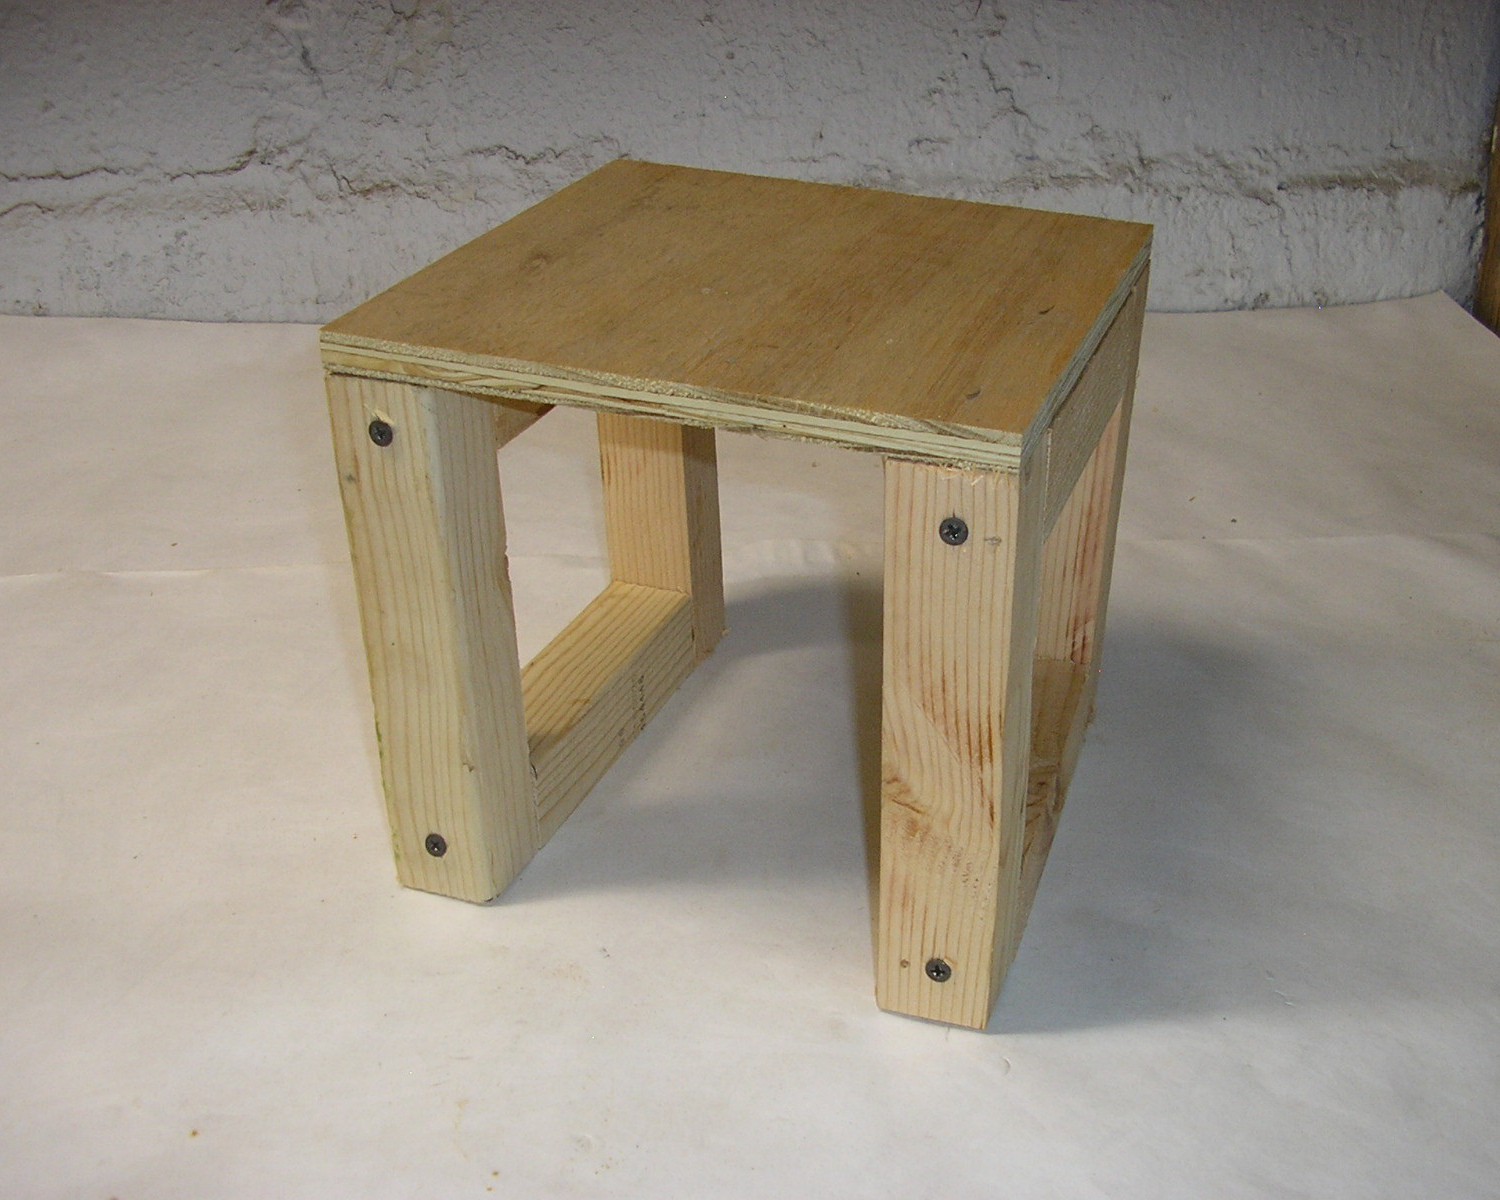 Place one of the plywood squares on top of the two sides of the goal so that it connects the two sides and the corners of the plywood square are flush with the corners of each of the sides.
 Put a 1.25 inch screw through each corner of the plywood square on top of the goal and into each longer column of each side of the goal. The screw should go through the plywood approximately .75 inches from each edge of the plywood. Four screws will be used in this step.
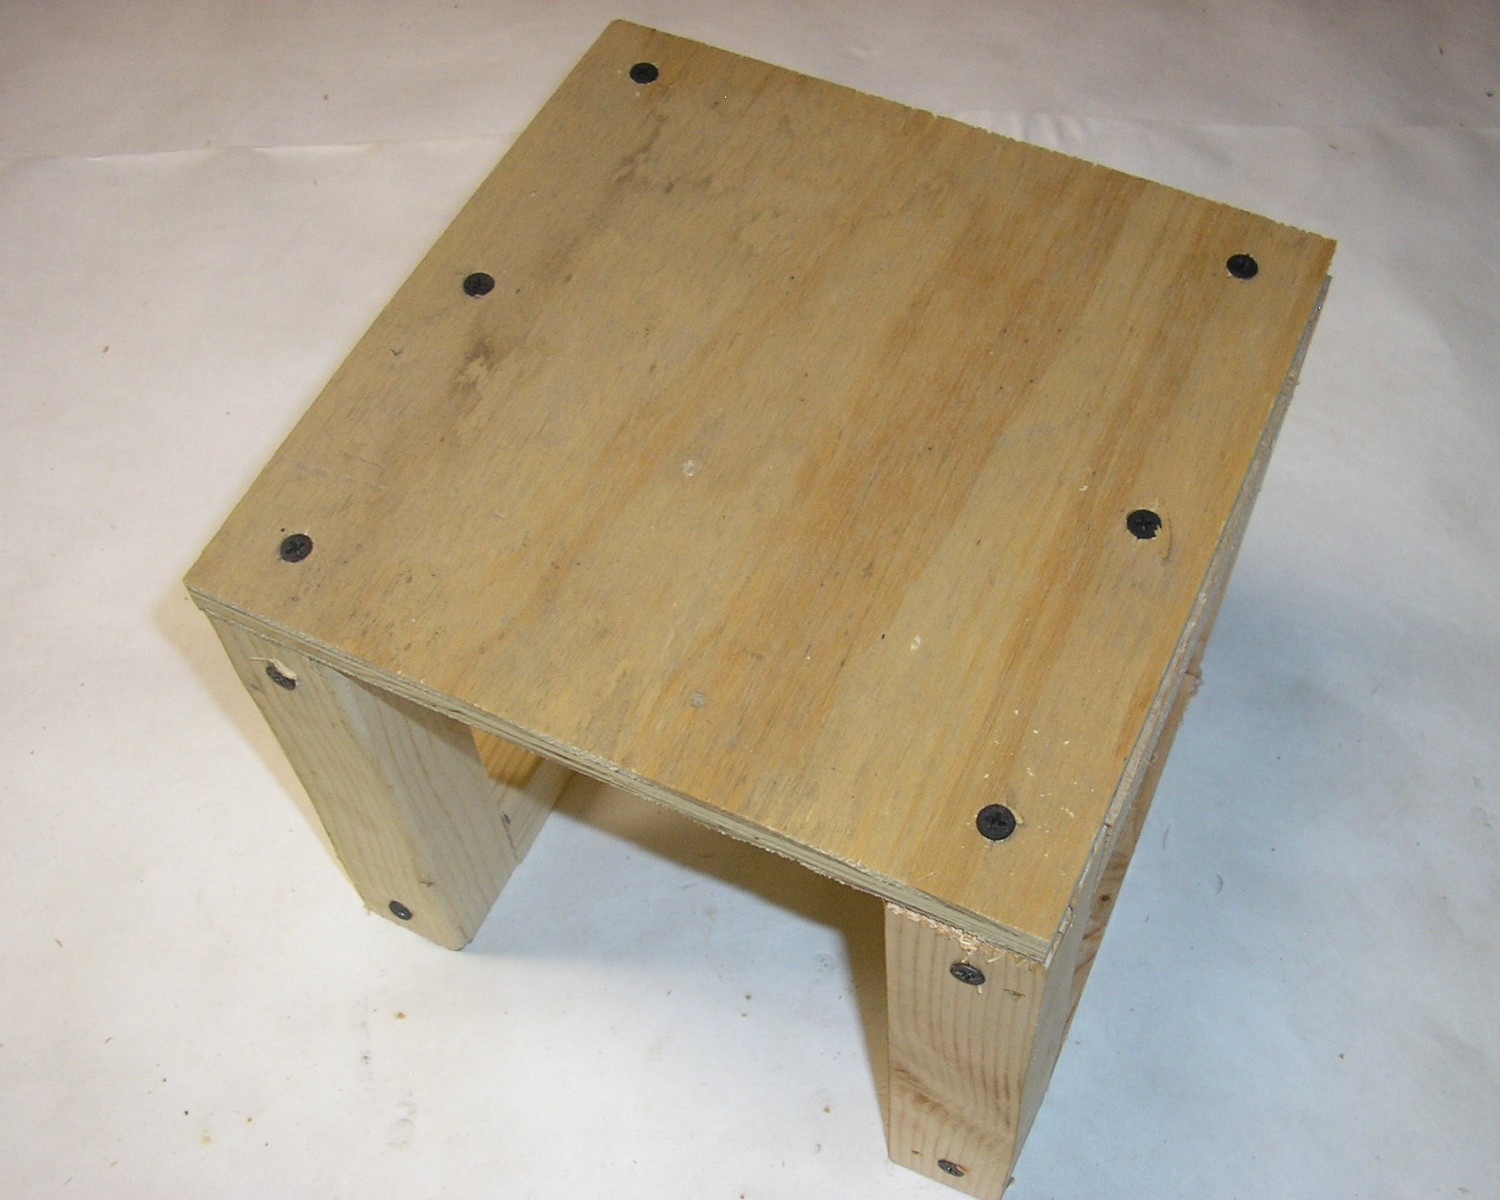 Put a 1.25 inch screw through the middle of each side of the plywood square on top of the goal that is touching a side of the goal. This screw should go into the shorter column of the side of the goal below it near the middle of that column. Two screws will be used in this step.
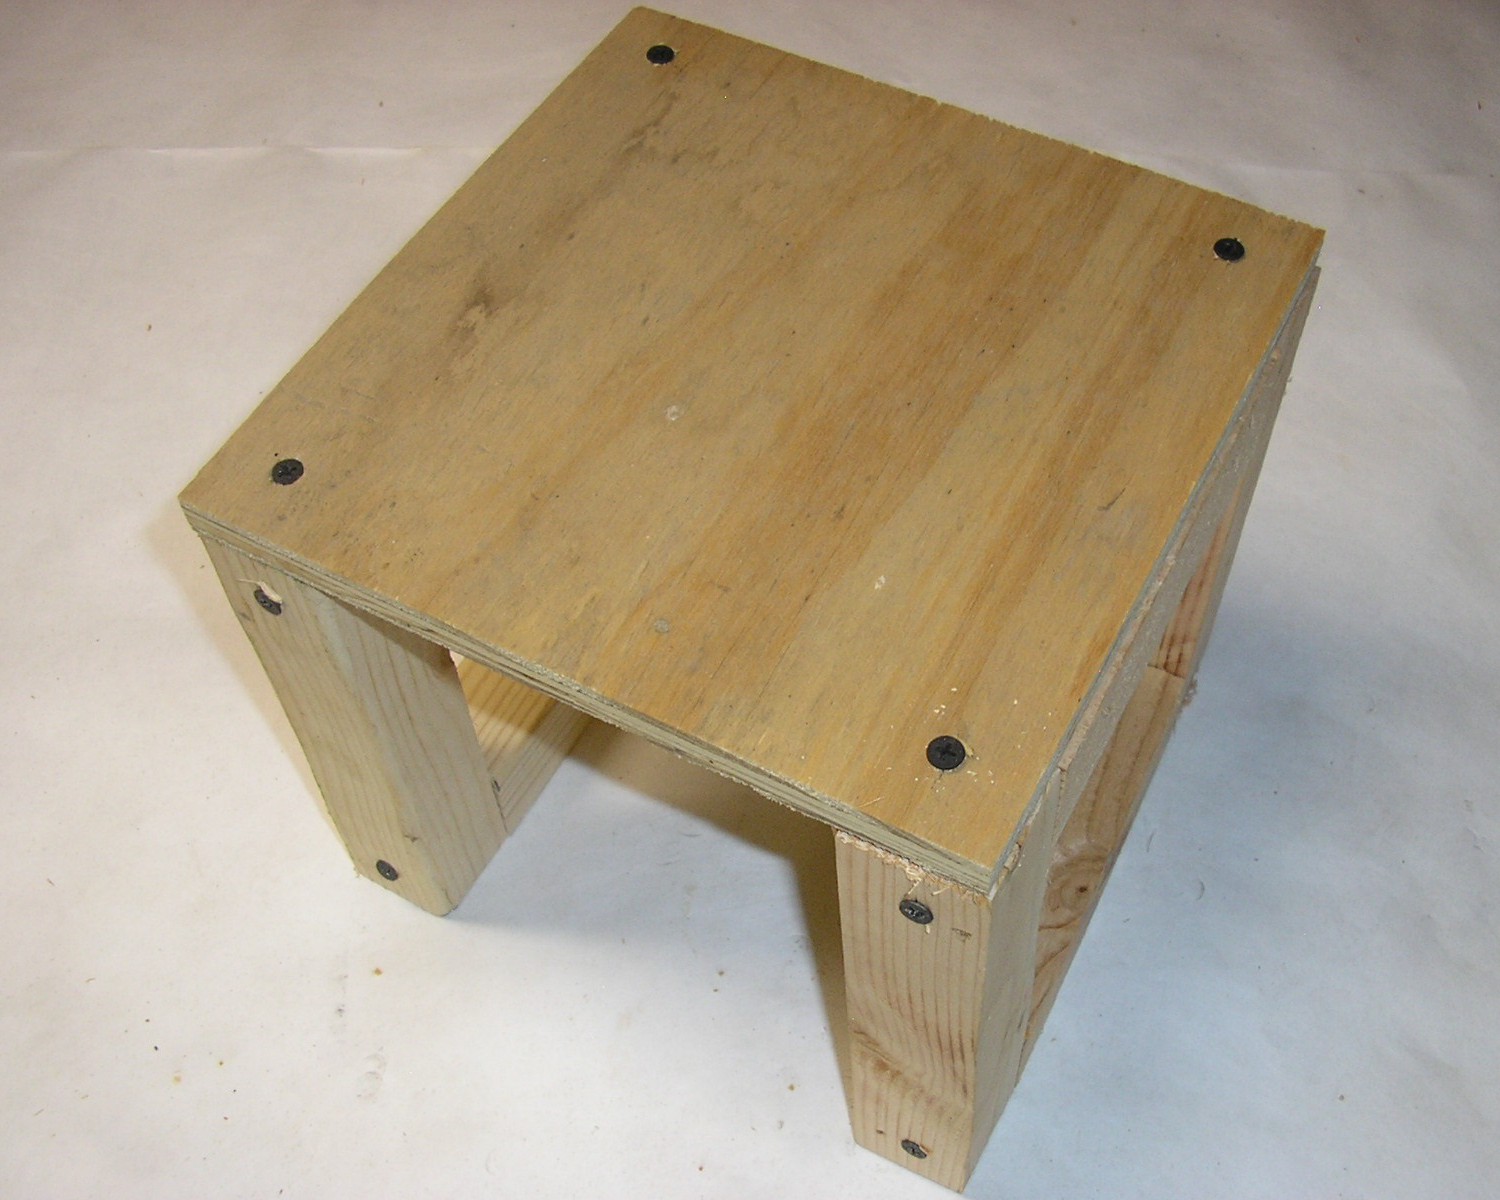
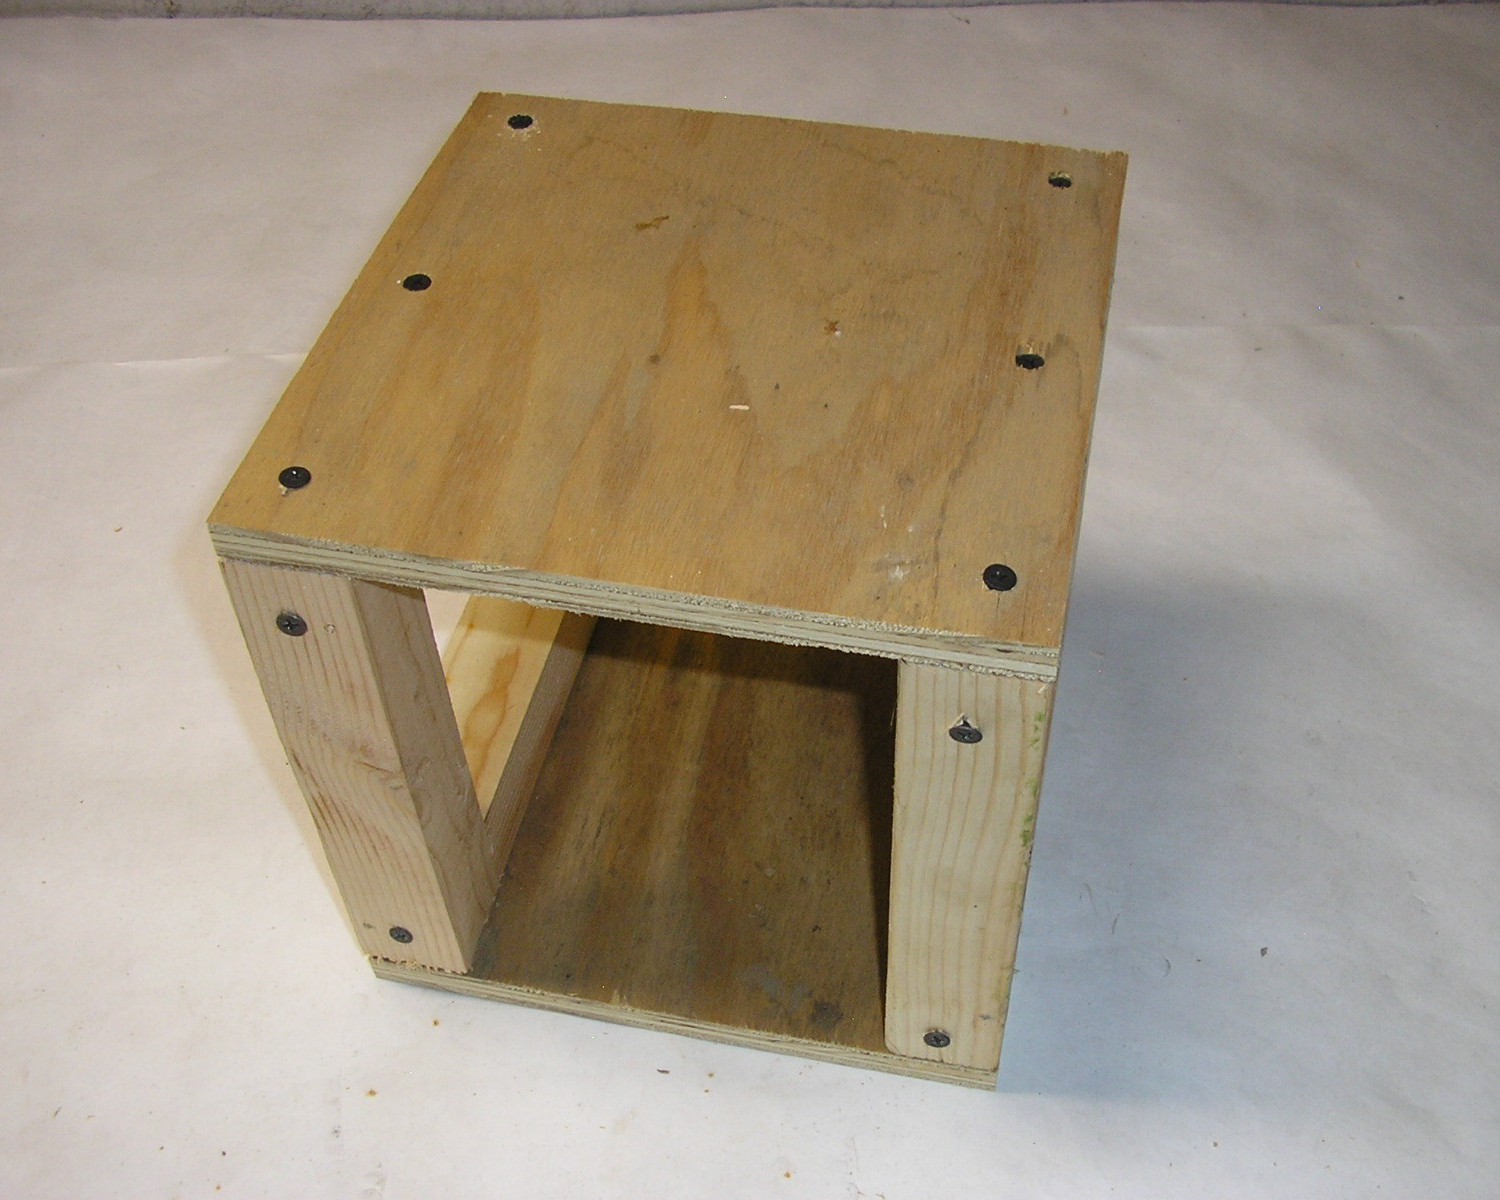
 Flip the goal over and place the other plywood square on top of the two sides of the goal so that it connects the two sides and the corners of the plywood square are flush with the corners of each of the sides.
 Put a 1.25 inch screw through each corner of the plywood square on top of the goal and into each longer column of each side of the goal. The screw should go through the plywood approximately .75 inches from each edge of the plywood. Four screws will be used in this step.
 Put a 1.25 inch screw through the middle of each side of the plywood square on top of the goal that is touching a side of the goal. This screw should go into the shorter column of the side of the goal below it near the middle of that column. Two screws will be used in this step.